
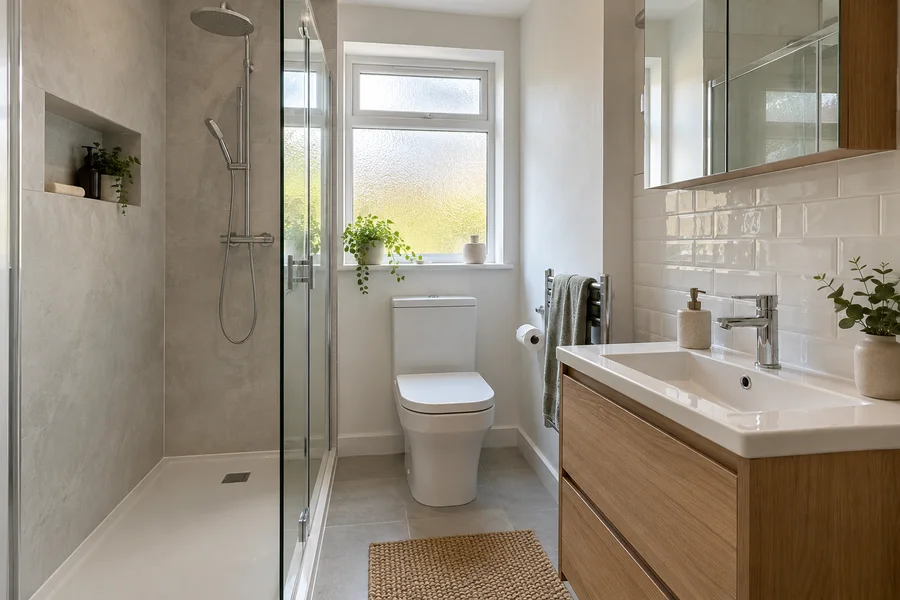
Wall panels and tiles offer different looks and maintenance routines. Compare the wall material, preparation, fitting, seals and cleaning before choosing the finish.
See the pattern at the size you will use
Panels and tiles can both create a simple or more detailed bathroom. Compare a larger area where possible, because a small swatch may not show the repeat of a strong pattern. With tiles, include the laying arrangement and visible joints. Put the sample beside the furniture and floor you intend to keep or buy. A finish you enjoy needs to work across the room, not only look attractive on its own under a display light that differs from your bathroom.
Find out which wall preparation is needed
Neither material makes an unsuitable wall ready by itself. Explain loose tiles, damp patches or damaged surfaces and ask what needs checking. The chosen product has its own preparation and fitting requirements. Ask which removal, repair or levelling is included for the condition that can be seen, and how a further finding would be explained. Keep the agreed work with the product choice.
Mark the covered areas clearly
Decide which walls receive the new material and how high it goes. Include the basin wall, pipe boxing and areas exposed by removing furniture or the bath. Where an old finish remains, agree how the two meet. Our bathroom budget guide explains why surface coverage belongs with the price. A quote for a whole room and one for shower walls describe different jobs, even if the material names or total figures look similar at first glance.
Look closely at window and doorway edges
Openings create visible corners and small surfaces that a single wall sample cannot show. Ask how panels or tiles meet the frame, sill and surrounding painted area. Include the proposed trim or edge finish with the samples, rather than assume a colour will be selected later. Check which old material is removed around those edges. These are useful details to settle before ordering quantities, especially where a window sits beside the bath or shower and forms part of the finished wet area.
Understand the joints around wet fittings
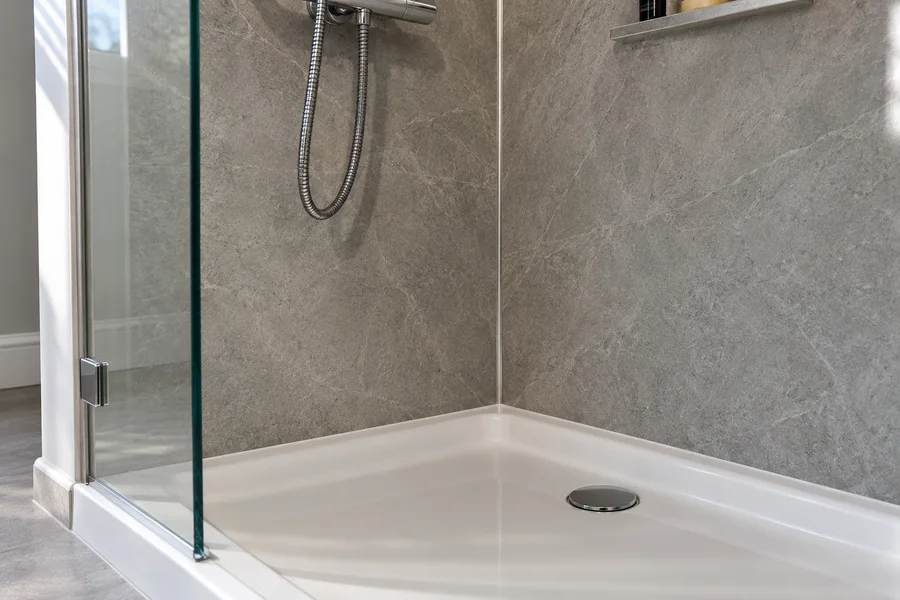
Ask how the selected system will meet the bath or tray, corners and pipe openings. The visible decorative face is only one part of the installation. Preparation, connections and seals need to suit the product and its position, following the relevant fitting instructions. You do not need to design the system yourself. You need a clear explanation of the proposed work and what care is required afterwards. Avoid choosing on a claim that any panel or tile alone makes the complete shower area suitable.
Position accessories before the finish is fitted
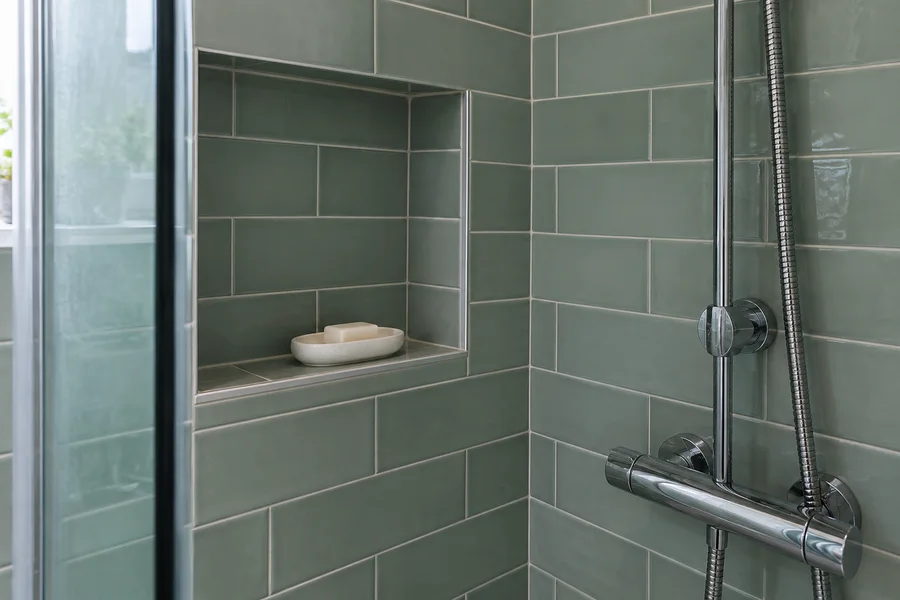
A mirror, shower basket or towel rail can need preparation for its fixings. Give the fitter the actual products and positions while that work can be planned. A shelf built into the wall has different requirements from a surface-mounted shelf, and not every wall has space for a recess. Look at the screen opening and control positions alongside the accessories. A useful shelf holds the products you use without obstructing the shower. Keep those choices with the room plan rather than add them as an unexplained final extra.
Compare the everyday cleaning routine
Read the care information for the actual panel, tile, grout and seals. Different finishes may need different cleaners, even within the same room. Think about reaching the corner behind the screen or beside the vanity, not just wiping an open wall. Ask which accessible joints need routine attention under the product instructions. At handover, keep those instructions where the household can find them. Our handover guide helps you prepare care questions before the fitting work ends.
Keep a way to reach pipes and valves
A smooth wall should not leave you guessing how a hidden shower valve can be repaired. Ask where access is provided, which parts can be removed and whether furniture will block the route. Discuss what a repair could involve for the selected finish. Knowing the access points does not mean opening them yourself; it gives you useful information for a later question. Agree the visible access detail with the finish so maintenance is considered without leaving the completed bathroom looking unfinished.
Save accurate details and useful spare pieces
Keep the product name, colour and reference, with batch information where supplied. Photograph the packaging label before it is discarded. Ask whether spare tiles or matching pieces would be useful and store any retained material safely. A range may change later, so those details do not guarantee a future match. They do give the supplier a better starting point than a photograph of an unidentified surface. Keep the finish record with the room documents so the household knows what was actually fitted.
Compare the supplied and fitted result
Material prices alone leave out preparation, quantities, edges and fitting. We discuss those parts alongside the suite through our bathroom supply and installation service. Tell us which finish you like and the areas you want to replace, including any existing damage. The proposal should describe the selected material and agreed work, with exclusions clear. Choose between panels and tiles using the appearance, use and complete job for your room rather than a unit price detached from the surfaces it will cover.
Your checklist
- Compare real samples in your light
- Include preparation and trims
- Read the actual product care instructions